One of the upcoming competition themes of the Canadian Association for Photographic Art (CAPA) is 2026 Triptych—The Art of Three. The deadline for VCC members to submit images into this competition is March 15, 2026. You can visit the VCC CAPA Triptych Competition for complete information, including the four themes: Differences in Building Structures, Human Connection, Nature Scenes, and Abstract Transformation. There are a number of ways to create triptychs using Lightroom and Photoshop or, as I did, both in tandem. CAPA has provided some examples. Please note that the following VCC competitions also allow triptychs this year: Pacific Zone, Fine Art, Monochrome, Inspiration Colour, and Canada My Country.
What are Triptychs?
Triptychs (TRIP-tiks) are three works of art or photography that are connected by their story, a related subject, symmetry, colour theme, or editing style. They can be created and seen as three individual works or one image divided into three parts. Triptychs have a long history, reaching back to hinged wooden altar paintings from even before the Middle Ages, and, as the competitions show, appear to have a resurgence in modern art and photography.
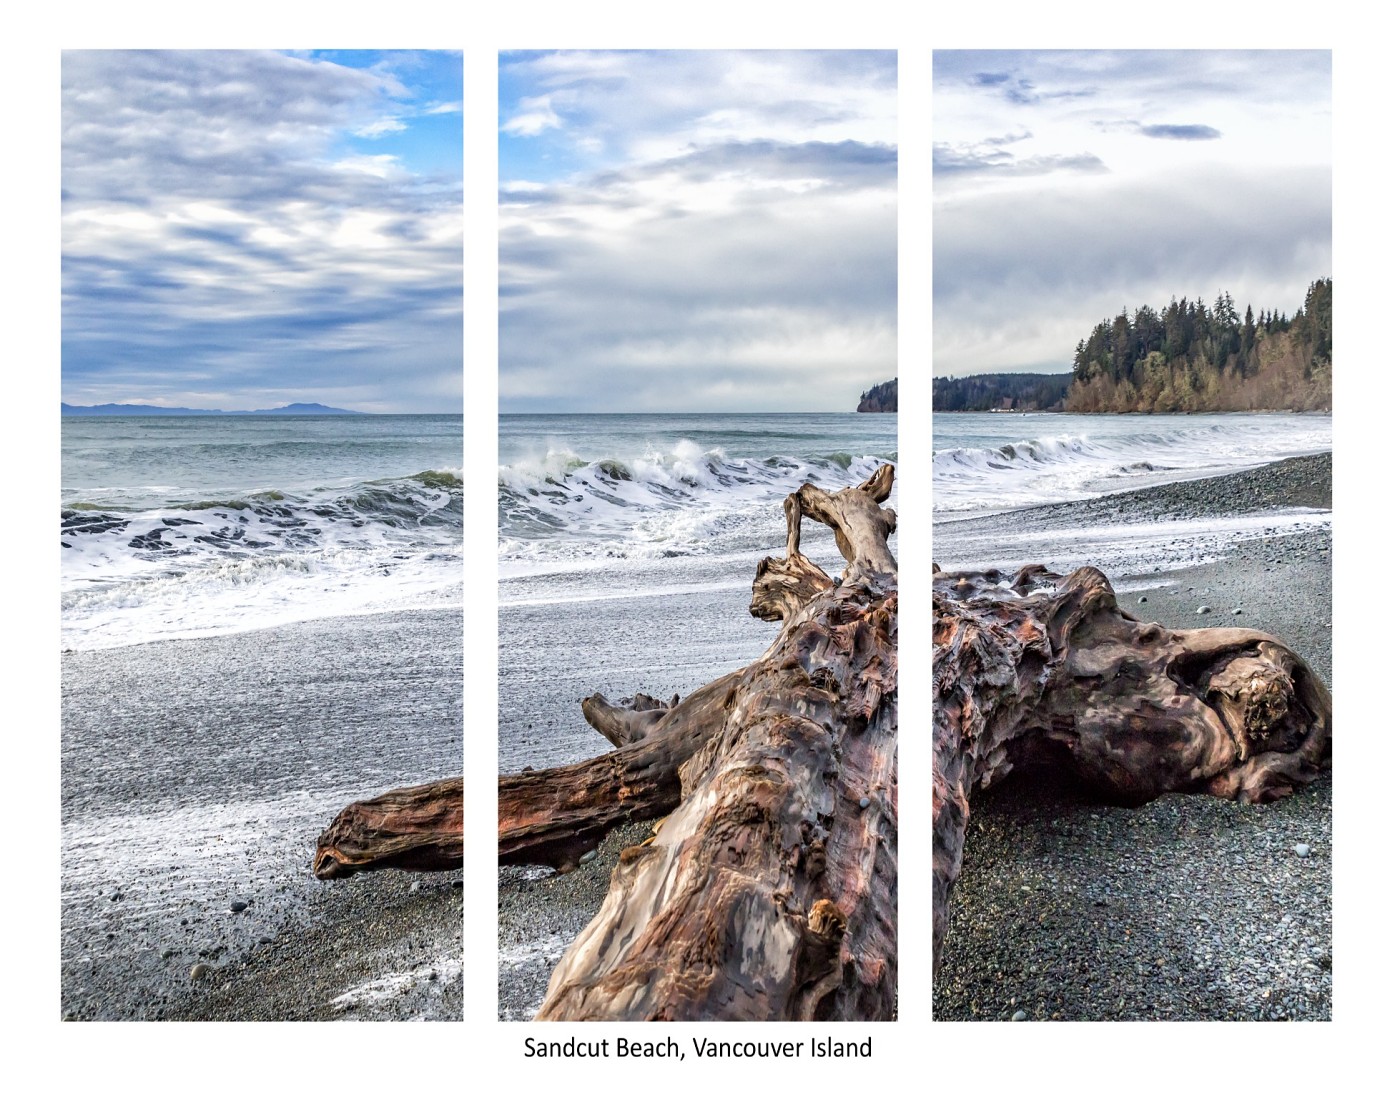
Sandcut Beach Triptych
Some of you may recall seeing my image presented in the 80th Anniversary Print Show last year. If memory serves correctly, I used the Lightroom Print Module with the Triptych Template.
How to Create A Triptych for the CAPA Competition
I’ve always been fascinated by triptychs so I thought I’d try my hand at one. I roughly followed the directions provided by CAPA but I ended up developing my own method. I present it as one example of a technique that worked well for me.
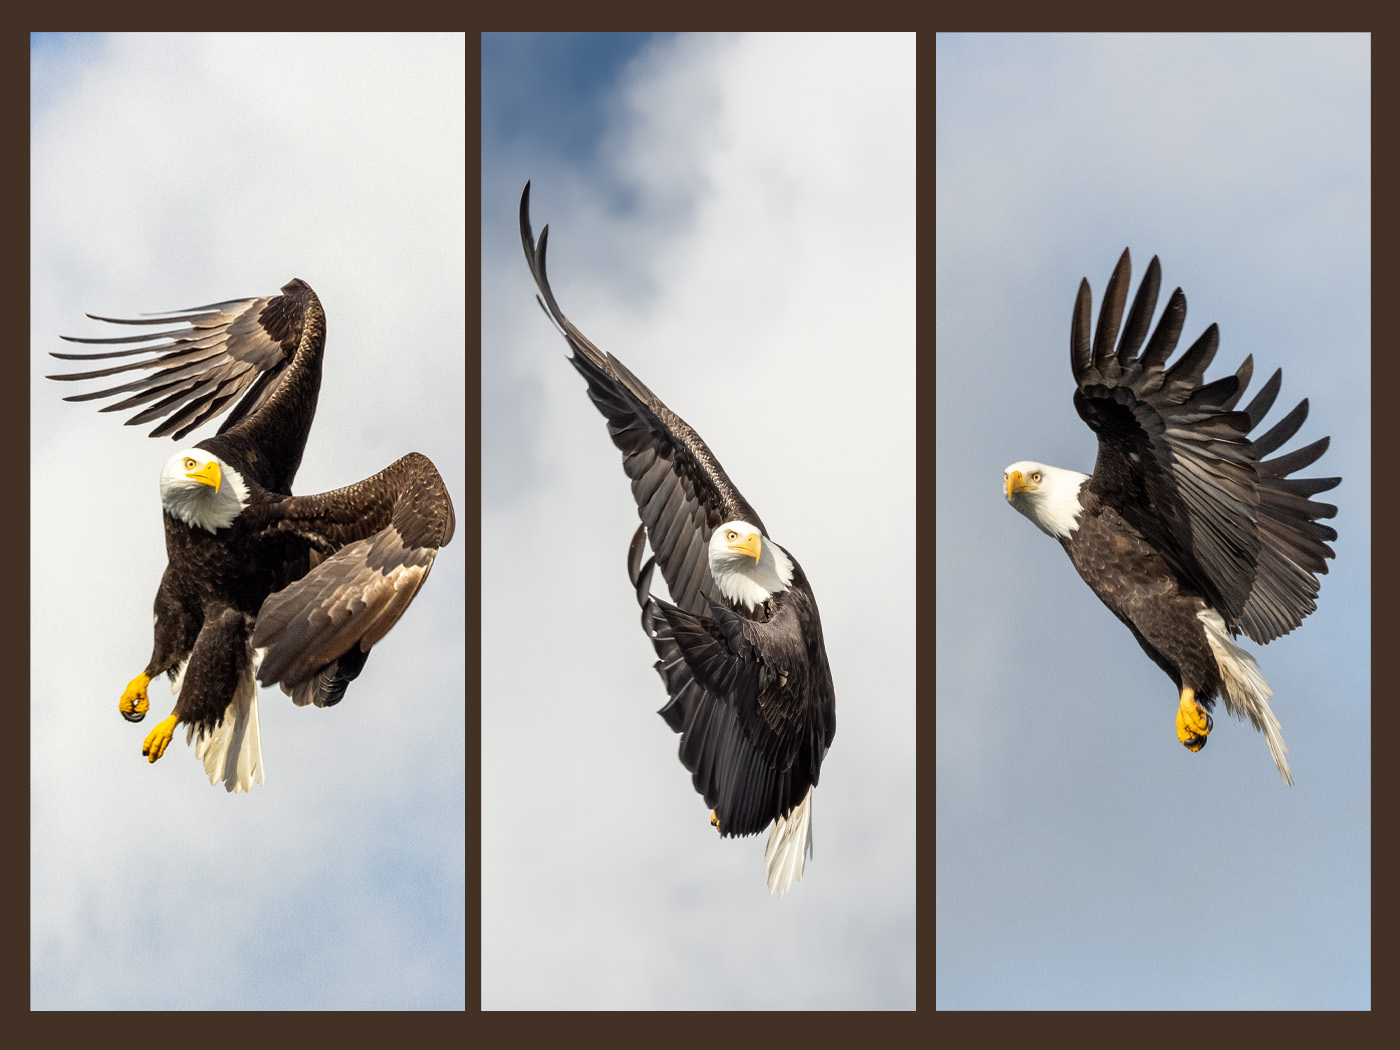
Eagle Poses Triptych
What I would like to share with you is the creation of the piece Eagle Poses. I used both Photoshop and Lightroom. Like all VCC and CAPA competitions, the size of your canvas should not be greater than 1400 x 1050 pixels (px).
Set Up the Canvas in Photoshop
I opened Photoshop and chose New File with the following parameters: 1400 x 1050 px @ 72 ppi, RGB Colour Mode, Background: White (which I changed later).
Since I knew my working space was 1400 x 1050 px, and that the 1050 px cannot be changed, I divided the width by 3 for my 3 panels (1400/3 = 466 px). I determined that each of my 3 images should be approximately 466 x 1050 px or a ratio of 1: 2.25.
Crop the First Image In Lightroom
Since I was doing this for the first time, I didn’t take any shortcuts. I chose my first image in Lightroom, cropped it according to the ‘math’ above with a custom ratio of 1 x 2.25, and chose Edit in Photoshop.
Back to Photoshop to Place the First Image
Since I had already created my blank canvas, I chose Select All and used the Move Tool to drag my first eagle image onto the blank canvas. It’s like a drag and drop technique; by holding the mouse down, I could grab my eagle, while continuing to hold. I didn’t release it until I hovered over the title of the blank canvas and placed the first eagle onto my work space.
Since the image came in the correct ratio but in full size, I adjusted it with the Transform Tool (Command T on Mac/ CTRL + T on Windows).
Hint: Use Command 0 to view the actual image size. You’ll be able to grab a corner and resize your image much easier.
Repeat for the Second and Third Image
I went back to Lightroom and repeated the techniques above for the second and third eagle images. In the end, I realized that it would be smarter to prepare all three images first (i.e. custom size), select them all, and then apply Edit in Photoshop.
Hint: Prepare all of your images first, then batch transfer them to Photoshop for final editing, rather than doing them one at a time.
Align the Images with a Grid
In Photoshop, open the View Menu and select Extras to see a grid over your blank canvas. This makes it very easy to align your three images, in this case, my eagles. I was able to quite easily ‘eye-ball it’ to determine the size of the frame and to keep the size between images consistent.
Finally, I didn’t like the white background. I used the colour picker and chose a brown area on one of the eagle wings to select a new colour, which helped to provide a more cohesive look to the final triptych.
Hint: Choose a new colour with the Colour Picker Tool. Click on Layer → New Fill Layer → Solid Colour → OK and choose your new colour.
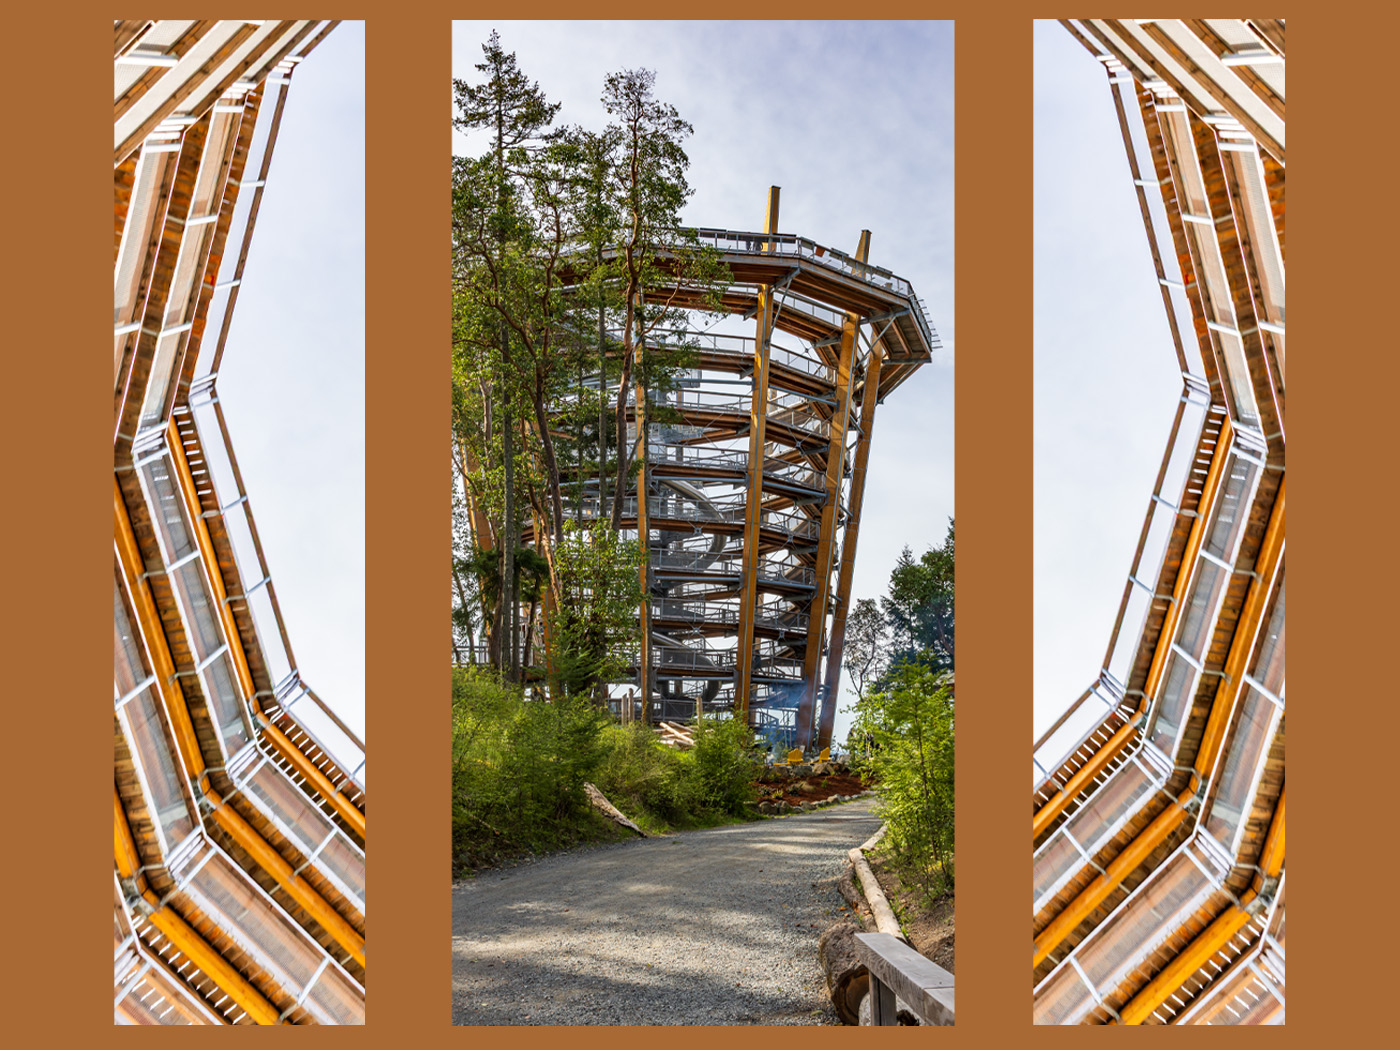
Malahat SkyWalk Triptych
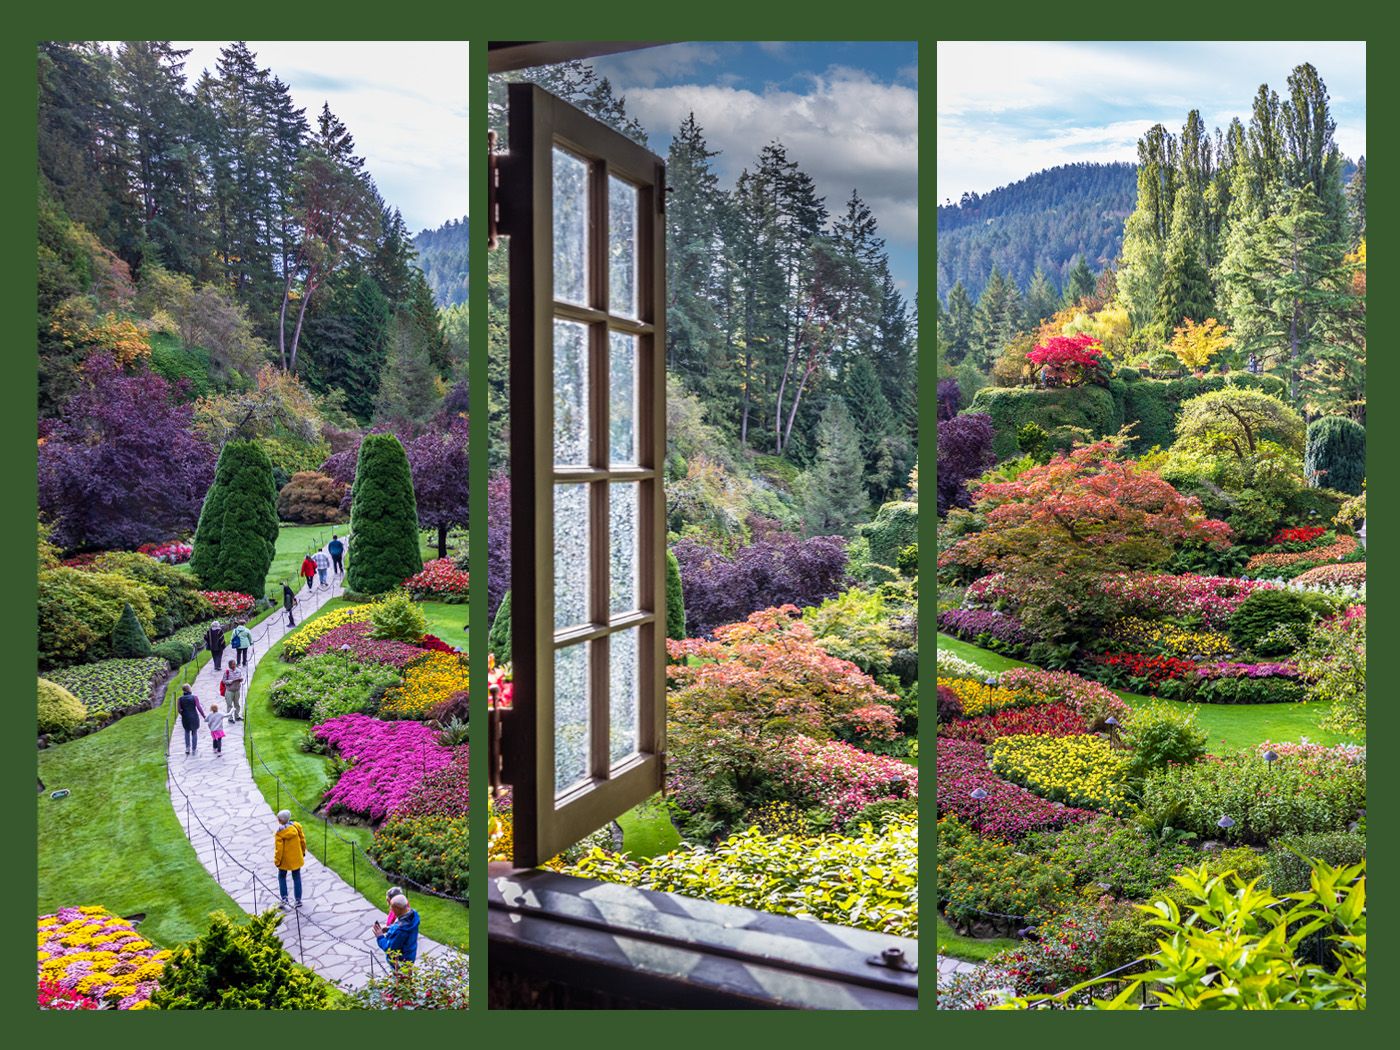
Butchart Gardens Triptych
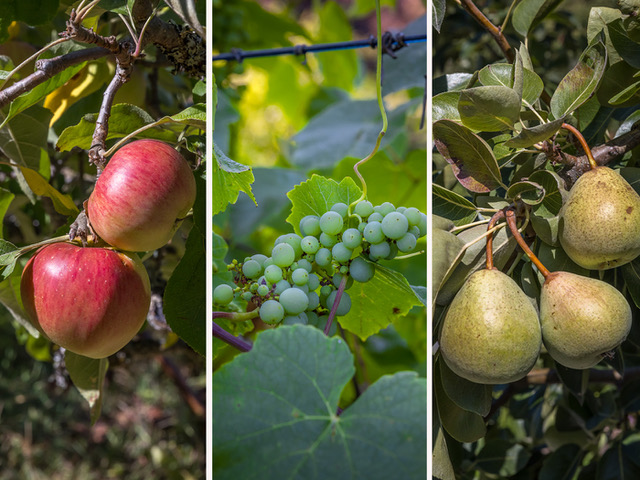
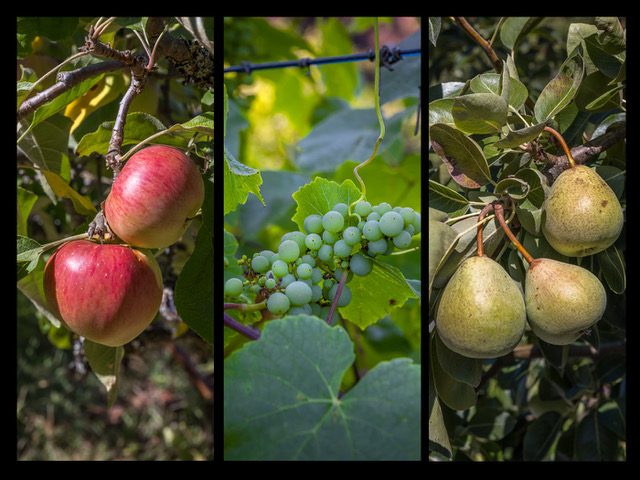
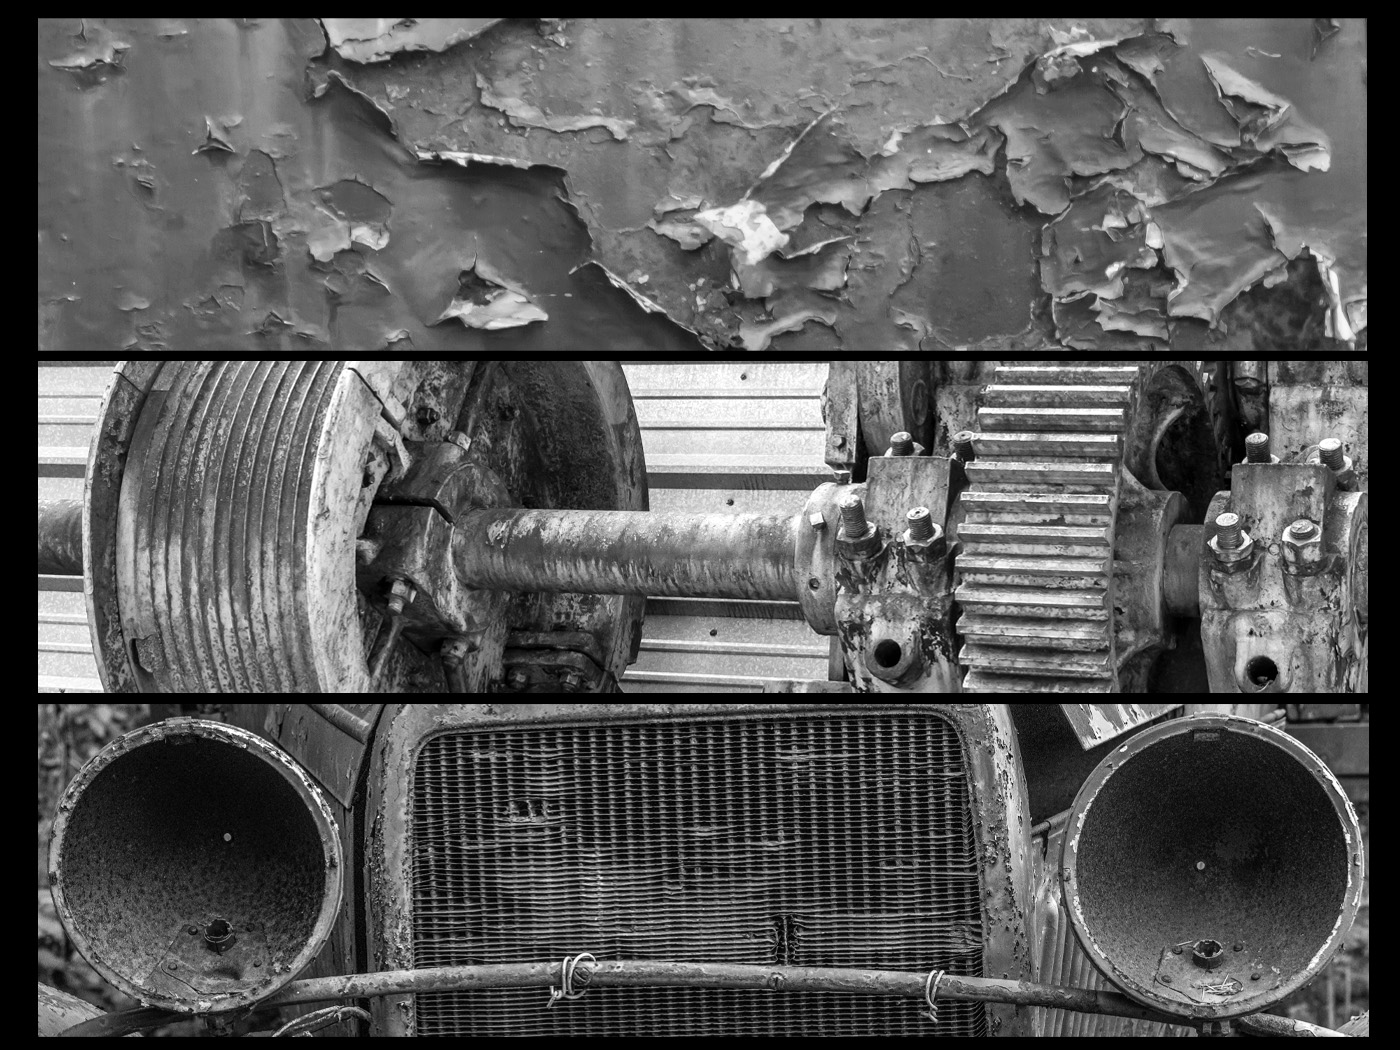
Time Marched On Triptych
Since I knew my working space was 1400 x 1050 px, and that I did not want the width (1400 px) to change, I divided the height by 3 for my 3 panels (1050/3 = 350 px). I determined that each of my 3 images should be approximately 1400 x 350 px or a ratio of 1:4 (4×1).
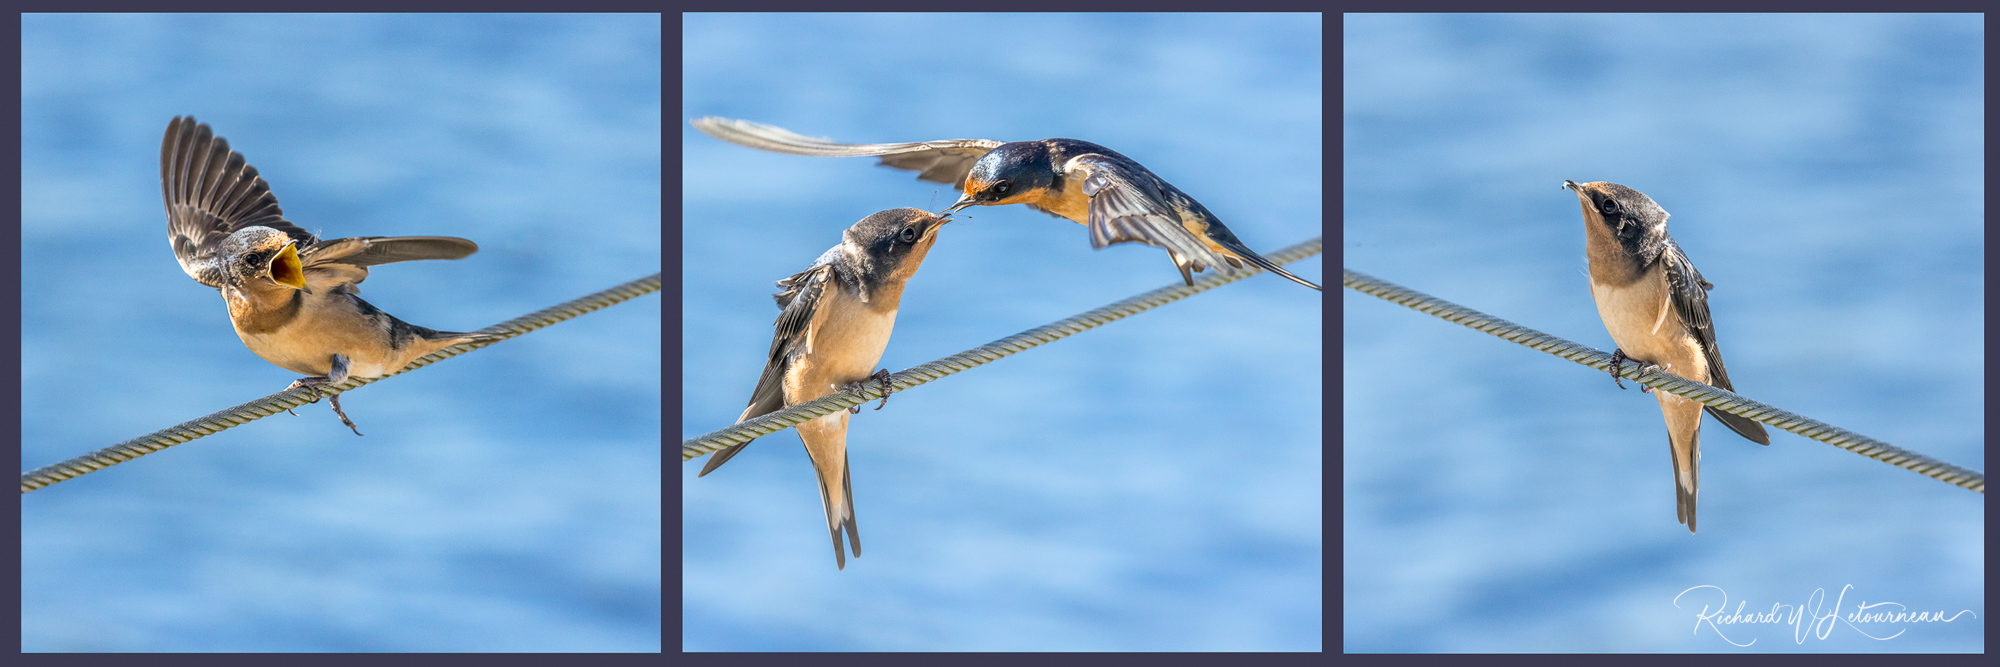
Barn Swallows On a Different Canvas Size for Fun
In closing, I created another experiment and made my canvas 3150 x 1050 px. Those settings would NOT work for this particular CAPA competition. But I was curious how it would look. Voila!